Kitchen storage shelves have become a kitchen staple for homeowners tired of cluttered countertops and cramped cabinets. Whether you’re working with a galley kitchen or a sprawling open concept, the right shelving solution can transform how you store and access everyday items. A well-planned shelf system keeps frequently used appliances, cookbooks, and ingredients within arm’s reach while freeing up valuable counter and cabinet space. This guide walks you through choosing, installing, and styling kitchen storage shelves that actually work for your lifestyle, no Pinterest fantasy required.
Table of Contents
ToggleKey Takeaways
- Kitchen storage shelves eliminate counter clutter and increase visible storage capacity while creating visual breathing room that makes kitchens feel larger and more functional.
- Choose between floating wall-mounted shelves for a sleek look, industrial steel-frame systems for heavy loads, or free-standing modular units if you rent or want flexible installation.
- Load capacity is critical—verify weight limits before installation, as exceeding capacity causes sagging and potential damage; small appliances and cookware can easily add up to 50+ pounds per shelf.
- Proper wall anchoring using stud finders and heavy-duty anchors, combined with level placement and correctly spaced brackets (12–16 inches apart), ensures shelf safety and prevents structural failure.
- Apply the rule of thirds when styling kitchen storage shelves—balancing everyday items, larger pieces, and decorative elements—to create an intentional, organized look that remains both beautiful and functional daily.
Why Kitchen Storage Shelves Transform Your Cooking Space
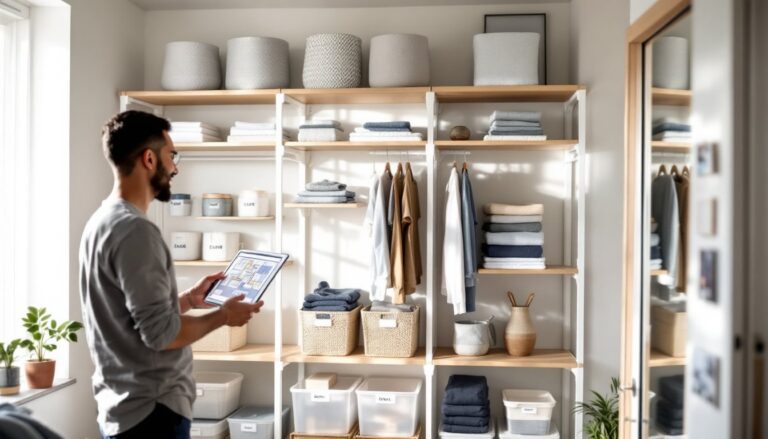
Kitchen storage shelves solve a fundamental problem: most kitchens lack enough storage without eating into your cooking workspace. Open shelving displays items you reach for daily while keeping them off the counter, which speeds up meal prep and makes your kitchen feel less cramped. Unlike closed cabinets, shelves let you see what you have at a glance, no more buying duplicate spices or wondering where that mixing bowl disappeared to.
Beyond function, shelves add visual breathing room and can showcase your kitchen style. A carefully styled shelf with cookbooks, plants, and a few well-chosen dishes creates a focal point that closed cabinetry simply can’t match. They’re also more flexible than permanent cabinetry: if your kitchen layout or needs change, shelves can be removed, relocated, or modified without a major renovation.
For smaller kitchens, Stylish Storage Solutions demonstrates how vertical storage becomes essential. Open shelving makes a 10-by-10 kitchen feel less suffocating by drawing the eye upward and creating an illusion of more space.
Types of Kitchen Storage Shelves for Every Style and Budget
Kitchen shelving options range from budget-friendly wire racks to custom built-ins, and choosing the right type depends on your aesthetic, budget, and kitchen demands. Understanding the main categories helps you avoid buyers’ remorse.
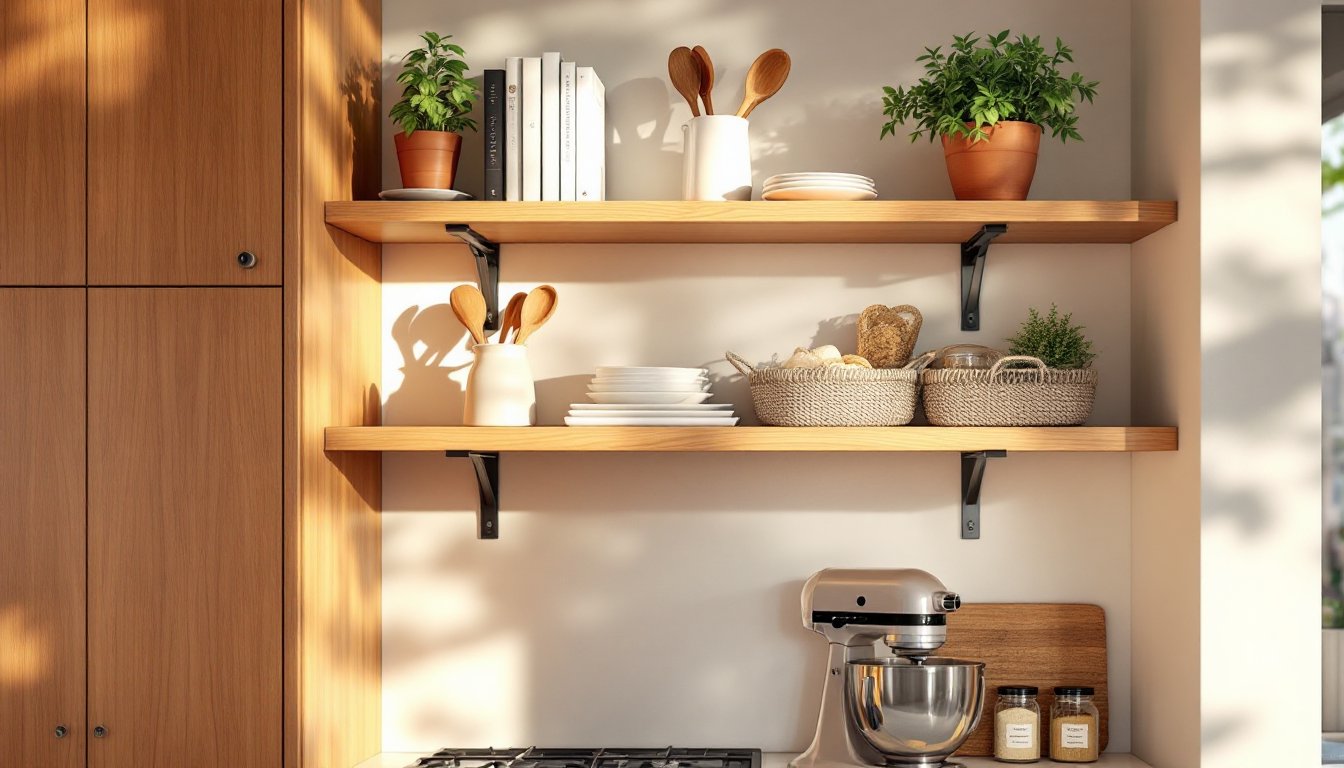
Floating Shelves and Wall-Mounted Options
Floating shelves mount directly to wall studs (or use heavy-duty anchors) and create a sleek, minimalist look. They’re ideal if you want open display without visible brackets underneath. Most floating shelves come in 12-inch, 18-inch, 24-inch, and 36-inch lengths, and they typically hold 25 to 50 pounds per shelf depending on the wall attachment and material. For kitchens, look for shelves with finished edges and materials that resist moisture and staining, solid wood, laminate, and engineered wood are common choices.
Wall-mounted steel-frame shelving offers an industrial aesthetic and excellent load capacity (often 100+ pounds per shelf). These systems use vertical posts and adjustable brackets, giving you flexibility to adjust shelf height. They work great if you’re storing heavier cookware, small appliances, or canned goods.
Floating shelves require finding wall studs or using toggle bolts or heavy-duty wall anchors rated for your shelf’s weight. Installation mistakes here are common, measure twice, use a stud finder, and always verify your anchor rating matches your shelf load. The DIY-friendly plans at Ana-White offer free woodworking instructions for building basic floating shelves from solid wood and hidden brackets.
Free-Standing and Modular Shelving Units
Free-standing shelving doesn’t require wall mounting, making it perfect for renters or if you want to avoid drilling into tile or plaster. Wire shelving units, often made of chrome-plated steel, are inexpensive and easy to assemble: but, they show dust and aren’t as visually refined as other options. Wood-and-metal modular units blend durability with style and often have adjustable shelves, giving you room to customize spacing for everything from tall bottles to small bowls.
IKEA-style modular systems are popular for kitchens because they’re affordable and customizable. A creative hack involves repurposing an IKEA RÅSKOG trolley into a mobile kitchen shelf that can be wheeled around as needed. This type of system works well in kitchens where permanent installation isn’t possible.
Free-standing shelves shift slightly during daily use, so ensure they’re level and stable before loading them. Unlike wall-mounted shelves, these depend entirely on their frame integrity, a wobbly unit is both unsafe and frustrating.
How to Choose the Right Shelf for Your Kitchen
Selecting the right shelf starts with understanding your specific needs, not just aesthetics. Ask yourself: What am I storing? How much weight will each shelf hold? Do I rent or own? How much wall space can I spare?
Load capacity is non-negotiable. Small appliances like stand mixers and food processors weigh 10–20 pounds each. Cast iron cookware, slow cookers, and Dutch ovens add up fast. If you’re storing cookbooks (typically 1–3 pounds each) and dinner sets, you’re looking at 50+ pounds per shelf. Check the manufacturer’s weight limit and don’t exceed it: exceeding capacity causes sagging, damage to walls, and potential injury.
Material choice affects both durability and maintenance. Solid wood (walnut, oak, pine) looks warm and accepts stain or paint, but needs sealing in kitchens where moisture and heat are present. Laminate is durable and low-maintenance but can look cheap if edges aren’t finished well. Metal shelves resist moisture but show fingerprints and can feel cold in a warm kitchen. Many home cooks prefer a hybrid: wood shelves with metal brackets for an industrial-farmhouse vibe.
Wall anchoring depends on your walls. Drywall requires proper anchors rated for your shelf’s weight: studs provide the strongest hold. If you have brick, stone, or tile, use masonry anchors or hire a professional. Plaster requires special care, it’s brittle and easily damaged. Kitchen Corner Cabinet Storage Solutions addresses how corner installations handle different wall conditions.
Depth matters. Standard kitchen shelves are 10 to 12 inches deep, which fits most dishes, glasses, and small appliances. Deeper shelves (14–18 inches) work if you have the wall space, but they’re harder to reach items at the back. Shallow shelves (8 inches) are fine for spices, cookbooks, or decorative items.
Measure your kitchen’s available space, consider your color scheme, and think about how items will look when displayed. A shelf that holds everything won’t feel peaceful if it looks cluttered.
Installation Tips and Best Practices
Proper installation determines whether your shelves are safe and level or become a recurring frustration. Rushing this step is where most DIY shelf projects fall apart.
For wall-mounted shelves:
- Use a stud finder to locate wall studs (typically 16 inches apart) and mark them in pencil. Studs provide the strongest anchor point for floating shelves and heavy-load brackets.
- If studs don’t align with where you want shelves, use heavy-duty toggle bolts or expanding anchors rated for your shelf’s weight. Toggle bolts handle drywall up to 50 pounds per anchor if installed correctly: adjustable anchors vary widely, so check the package.
- Level is essential. Use a 24-inch spirit level (longer levels are more accurate than short ones) to ensure the wall is plumb before mounting brackets. Mark mounting holes in pencil, then use a small 1/8-inch drill bit as a pilot to prevent drywall from crumbling.
- Install brackets 12 to 16 inches apart for shelves spanning 24–36 inches. Closer spacing prevents sagging, especially under load.
- Once brackets are secure, place the shelf on top and verify it’s level again. Shim (use thin wooden wedges) if needed, then secure according to the bracket design.
For free-standing units:
- Place the unit on a level floor (use a 4-foot level to check). If the floor slopes, shim the legs until stable.
- Bolt the unit to studs if it’s tall or in a household with young children: free-standing units can tip if leaned on or climbed.
- Keep heavier items on lower shelves for stability and safety.
Safety considerations:
- Wear safety glasses when drilling into walls and work gloves when handling metal brackets or sheet materials.
- Double-check weight limits before installing, a shelf failure can damage property and cause injury.
- If you’re unsure about wall conditions (old plaster, moisture issues, or structural concerns), consult a contractor. Permits may be required if you’re adding load-bearing elements near certain areas.
Styling and Organizing Your Kitchen Shelves
Once your shelves are secure, styling them thoughtfully transforms a utility feature into part of your kitchen’s design. The goal is functionality that looks intentional, not like overflow storage.
The rule of thirds: Divide each shelf mentally into thirds. Fill one-third with everyday items you reach for (spices, oils, frequently used bowls), one-third with larger pieces like cookbooks or appliances, and one-third with decorative items or breathing room. This creates visual balance and prevents a cluttered feel.
Color and texture coordination: Group items by color or material, for example, a cluster of white dishes, wood spoons, and woven baskets creates a cohesive look. Avoid an overly styled appearance: this is your kitchen, not a magazine shoot. Leave some negative space: your shelves should feel curated, not crammed.
Vertical stacking: Use a plate rack or dish rack to display plates vertically, which saves space and makes them feel like decor. Stand cookbooks upright if you have room, or stack them horizontally and rest a small plant or decoration on top. This breaks up visual monotony.
Small containers for items that pile up: Spices, oils, and dried goods look neater in matching jars or containers. Label them for easy identification, especially if you cook with unusual ingredients. This also protects items from moisture and pests.
Incorporate plants (strategically): A small potted herb like basil or rosemary doubles as decoration and utility. Use saucers under pots to prevent water damage to shelves. Avoid vining plants that might obscure your view of items you need to grab.
Styling should enhance your kitchen’s function, not hinder it. If a shelf becomes difficult to work with because items are too precious to move or access, rethink the arrangement. Kitchen shelves work best when they’re both beautiful and usable every single day.