Whether you’ve harvested a season’s worth of grain from your garden plot or bought bulk supplies from a local mill, knowing how to store grain properly is the difference between a pantry staple lasting months and watching it spoil in weeks. Grain storage isn’t complicated, but it does require the right containers, a dry environment, and a plan to rotate stock. This guide walks you through practical grain storage solutions, from choosing the right containers to organizing them efficiently, so your harvest stays fresh and ready to use.
Table of Contents
ToggleKey Takeaways
- Proper grain storage solutions prevent mold, rancidity, and pest infestation by eliminating oxygen, controlling moisture, maintaining temperatures between 50–70°F, and keeping humidity below 15%.
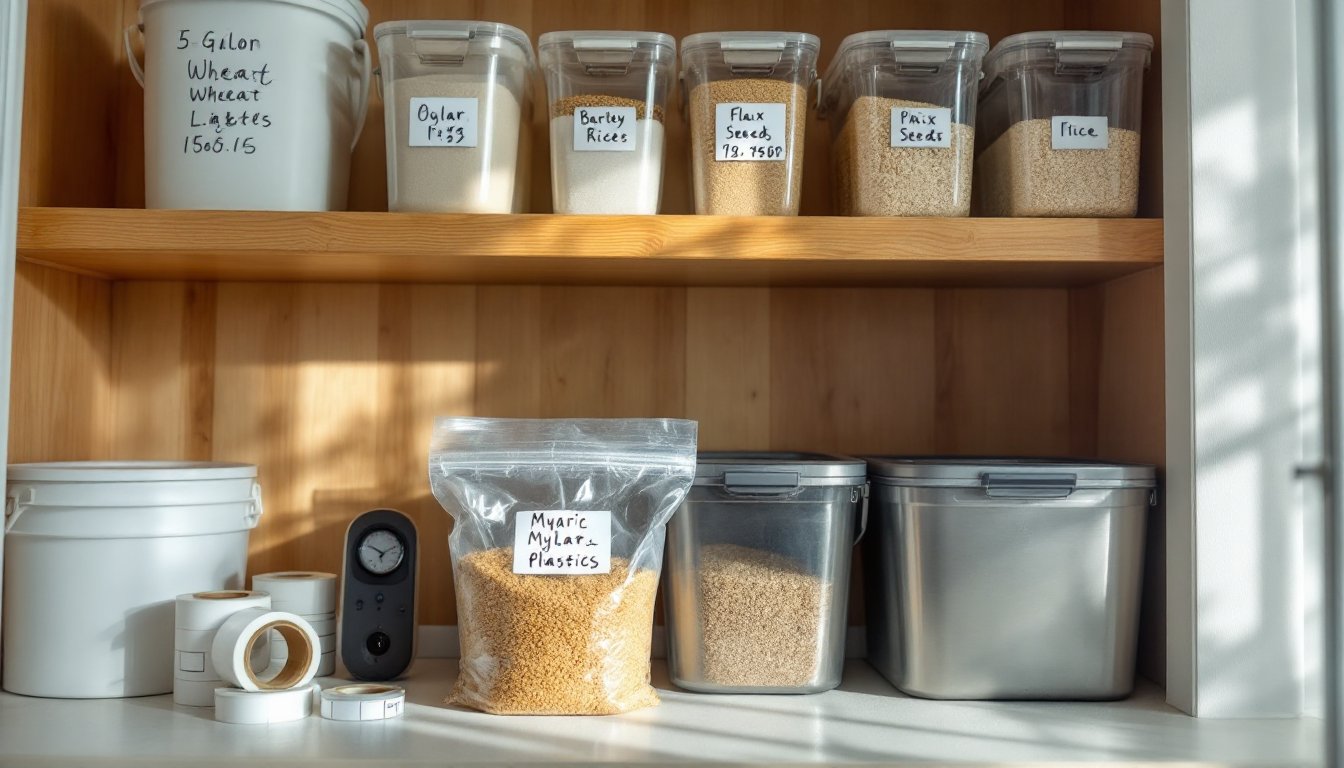
- Food-grade buckets paired with Mylar bags and oxygen absorbers create an anaerobic environment that keeps grain fresh for 6 months to several years depending on grain type.
- Label all containers with grain type, purchase date, and expiration, then rotate stock using a first-in, first-out system to prevent spoilage and waste.
- Bulk storage bins with gasket seals are ideal for storing 50+ pounds of grain and provide space-efficient, stackable alternatives to individual buckets.
- Monthly inspections for musty smells or insects catch spoilage early, and freezing grain for 48 hours before storage kills most pests and extends shelf life significantly.
- Store grain in the coolest, driest room available—such as basements, pantries, or interior closets—and use a dehumidifier if humidity consistently exceeds 60%.
Why Proper Grain Storage Matters for Homeowners
Grain attracts moisture, oxygen, and pests the moment it’s harvested. Without proper storage, you’re looking at mold, rancidity, and insect infestation, all of which render your hard work inedible. Properly stored grain can stay fresh for 6 months to several years depending on the type and conditions. Wheat, oats, barley, and rice all have different moisture and temperature tolerances, so treating them the same way won’t cut it.
The goal of grain storage is simple: eliminate oxygen, control moisture, keep temperatures stable, and prevent pest access. You don’t need a fancy climate-controlled room, just the right containers and a cool, dry spot. Most homeowners succeed by storing grain in a basement, pantry, or garage where temperature stays between 50–70°F and humidity stays below 15%. If your home doesn’t hit those marks naturally, you’ll need to adjust your strategy, either by adding moisture-absorbing packets or relocating storage to a different space.
Best Grain Storage Containers and Materials
The container is your first line of defense. Glass is attractive but heavy and breakable. Plastic works if it’s opaque and airtight. Metal is durable and pest-proof. Your choice depends on quantity, space, and how long you’re storing.
Food-Grade Buckets and Sealed Containers
Food-grade plastic buckets with tight-fitting lids are the backbone of small-scale grain storage. A standard 5-gallon bucket holds roughly 35 pounds of wheat berries or 40 pounds of oats. Buy buckets labeled “food-grade” (marked with a 2 or 5 recycling symbol inside a triangle), regular buckets may leach chemicals into your grain. Pair them with Mylar bags (metallized plastic liners) inserted inside the bucket to create an extra oxygen barrier. Squeeze out air, seal the Mylar bag, snap the lid, and you’ve created an anaerobic environment where grain stays dormant and insects can’t survive.
Cost-wise, you’re looking at $2–5 per bucket and $0.50–1.50 per Mylar bag. For long-term storage beyond 6 months, add oxygen absorbers (small packets containing iron powder) inside the Mylar bag before sealing, they consume residual oxygen and extend shelf life significantly. Professional-grade airtight containers made from borosilicate glass or BPA-free plastic are another option if you prefer durability and visibility, though they cost more and are better for smaller quantities.
Bulk Storage Bins and Dry Goods Organizers
If you’re storing 50+ pounds of grain, individual buckets become unwieldy. Bulk storage bins with locking lids, the kind used for flour or pet food, are stackable and space-efficient. Look for bins with gasket seals (rubber strips that compress when you close the lid) to keep moisture and pests out. Rubbermaid, Cambro, and similar manufacturers offer 15–50 gallon bins designed for food storage: they cost $25–60 per bin depending on size.
For extra organization, use clear plastic drawer-style organizers inside your storage area so you can label and rotate grain by type and purchase date. A rolling cart with multiple shallow drawers takes up minimal floor space and makes it easy to grab what you need without disturbing other containers. ASI Storage Solutions: Transform offers practical frameworks for organizing dry goods efficiently in any pantry or closet setup.
DIY Grain Storage Organization Tips
Organization keeps grain accessible and prevents forgotten bags from spoiling in the back corner. Label everything with a permanent marker: grain type, purchase or harvest date, and expiration (a rough estimate based on storage conditions). A simple system, oldest stock in front, newest in back, ensures you rotate through grain before it ages.
Create a grain inventory sheet (a spreadsheet or printable checklist) listing what you have, how much, where it’s stored, and when to use it by. Update it each time you add or remove grain. For households storing multiple types, wheat berries, flax seeds, rice, rolled oats, dedicate shelves or zones by grain so everything stays organized. Use shelf dividers to prevent bins from tipping, and keep the storage area free of clutter so you can see what’s there at a glance.
Temperature stability matters more than absolute cold. A closet in an interior wall stays more consistent than an exterior wall or uninsulated garage. If you’re in a humid climate, store grain in the driest room available, avoid kitchens near steaming pots or bathrooms with moisture-laden air. Many homeowners find that a small dehumidifier running in the storage area year-round is a worthwhile investment if humidity creeps above 60%. Tools like hygrometers (moisture-measuring devices) are cheap ($5–15) and help you track conditions so you catch problems early.
Maintaining Quality and Preventing Spoilage
Even in ideal conditions, grain gradually loses nutritional value and becomes prone to rancidity. Oils in the grain oxidize over time, especially in whole grains like brown rice or wheat berries. To slow this process, keep grain in the coolest part of your home and ensure containers are truly airtight.
Inspect stored grain monthly for signs of trouble. A musty smell means moisture has gotten in, toss affected grain rather than risking mold or toxins. If you spot insects (weevils, moths, or beetles), the grain was either infested before storage or a seal failed. Freezing grain for 48 hours before storage kills most pests: some homeowners use this as a pre-storage step for peace of mind. For long-term storage, consider freezing grain in sealed bags, then thawing it at room temperature before use, frozen grain stays viable far longer than ambient storage.
Moisture is your enemy. Grain should start at 12% moisture or lower before storage. If you’ve harvested fresh grain, dry it completely in a warm, dry space before sealing containers. Best vegetable storage practices apply here too, clean, dry conditions and regular inspection prevent most spoilage problems. For those tackling their first large-scale grain storage, Instructables and other DIY platforms offer step-by-step tutorials on building raised storage shelves and custom organization systems that many hobbyists have tested successfully.
Conclusion
Grain storage doesn’t require expensive equipment or specialized knowledge, just airtight containers, a cool dry space, and a rotation system. Start with food-grade buckets and Mylar bags for smaller quantities, scale up to bulk bins if your harvest grows, and label everything clearly. Check your grain monthly, keep humidity and temperature stable, and you’ll enjoy fresh, pest-free grain for months or years. The effort you put in upfront pays off every time you reach for grain that’s still whole and flavorful.