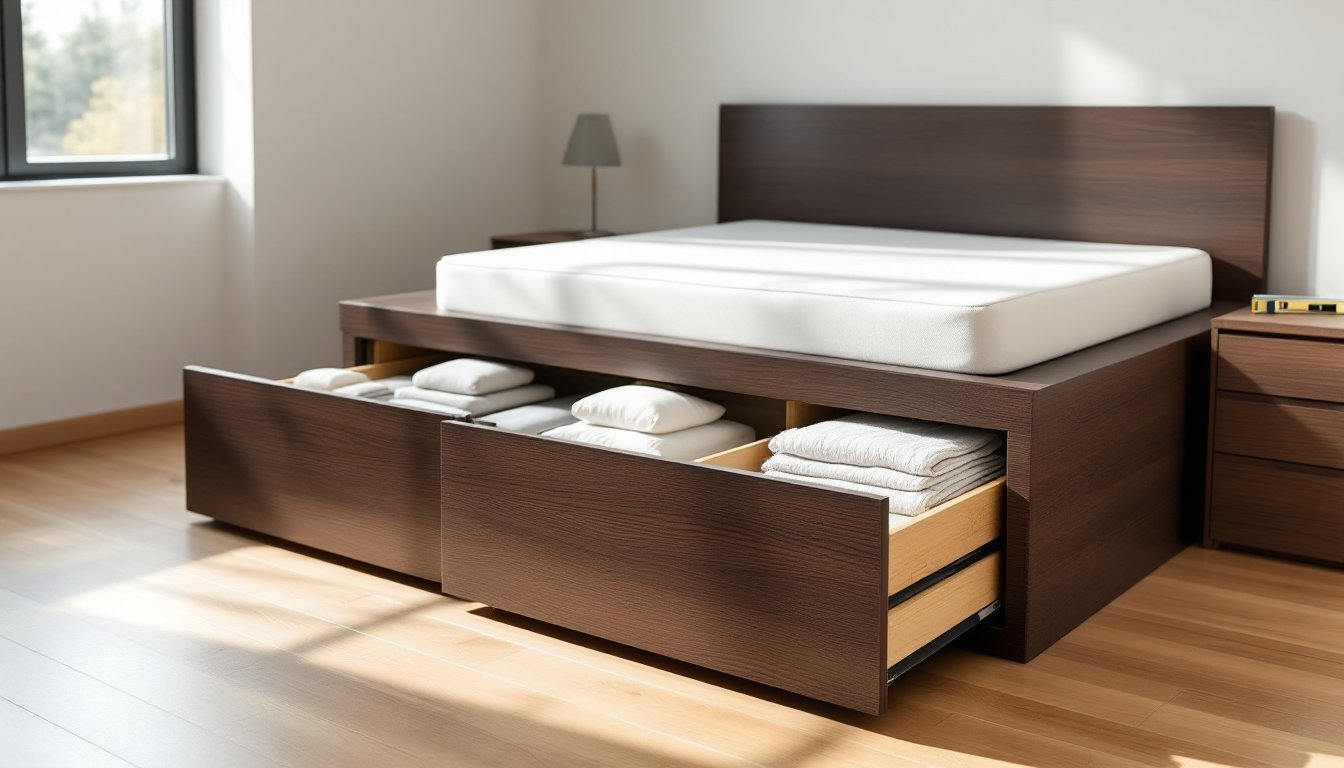
A platform bed with built-in storage solves two problems at once: you get a sturdy sleeping surface and extra space for blankets, seasonal gear, or whatever’s taking over your closet. Unlike traditional bed frames with legs, platform beds sit low and create a seamless, modern look while maximizing the storage potential underneath. Whether you’re working with a tight bedroom or just tired of wasting square footage, building your own platform bed with storage is an achievable weekend project that costs significantly less than buying furniture. You’ll need some basic tools, a few sheets of plywood, and dimensional lumber, nothing exotic. Let’s walk through how to make it happen.
Table of Contents
ToggleKey Takeaways
- A DIY platform bed with storage combines a sturdy sleeping surface with practical under-bed storage for a fraction of retail cost ($200–$400 vs. $1,000+).
- Building your own platform bed with storage lets you customize dimensions, drawer configurations, and finishes to match your room layout and storage needs.
- Proper preparation is critical: sand surfaces thoroughly with multiple grits, check lumber for warping, and ensure drawer slides are rated for your intended load.
- Common mistakes like undersized drawer slides, poor support spacing, and inadequate ventilation can undermine the project’s durability and functionality.
- A typical platform bed project spans 2–3 weekends and requires only basic tools like a circular saw, drill, and level—no advanced workshop needed.
Why Choose A Platform Bed With Built-In Storage
Platform beds eliminate the need for a box spring, resting directly on solid support slats or a plywood surface. This design is inherently stronger and more durable than traditional frames, especially once you add storage drawers underneath.
Building one yourself means you control the dimensions, materials, and storage configuration. You can tailor it to your room’s layout, ceiling height, and actual storage needs instead of forcing a one-size-fits-all option into your space. If you sleep on a queen mattress but have a narrow room, you can adjust the frame proportions accordingly.
Cost-wise, a DIY platform bed with storage runs $200–$400 in materials (depending on wood grade and finish), while ready-made equivalents often exceed $1,000. You’re also not paying for shipping a bed that weighs 150+ pounds.
From a design standpoint, a low platform bed creates a sense of spaciousness in smaller rooms. Unlike lofted beds that can feel cramped, platform beds sit grounded and allow you to use the full bedroom footprint. The integrated drawers also eliminate the need for a separate dresser or under-bed storage solutions, keeping the room uncluttered and functional.
Materials and Tools You’ll Need
Materials
- 2×4 lumber (eight to twelve pieces, depending on bed size) for the frame perimeter and internal supports
- ¾-inch plywood (two to three sheets, 4’×8′ standard size) for the platform surface and drawer bases
- ½-inch plywood (one to two sheets) for drawer sides and backs
- 1×12 boards (four to six pieces, 8 feet long) for drawer fronts and side panels
- 1¼-inch wood screws (50+ count) and 2-inch wood screws (30+ count) for frame assembly
- ¾-inch pocket hole screws if using pocket holes (optional but cleaner-looking joints)
- Wood glue (one bottle)
- Wood filler for gaps (optional)
- Sandpaper (80-grit, 120-grit, and 220-grit) and tack cloth
- Paint or stain suited to your wood type (primer + finish, or stain + polyurethane)
- Drawer slides (soft-close or standard, rated for weight: budget $40–$100 for a full set)
Tools
- Miter saw or circular saw for cutting lumber to length
- Drill-driver (18V+ lithium-ion recommended)
- Level (24-inch minimum)
- Tape measure and carpenter’s square
- Pocket hole jig (optional: Kreg Jig is a common choice)
- Orbital sander or sanding block for smoothing surfaces
- Paintbrushes or foam rollers for finishing
- Safety gear: work gloves, eye protection, dust mask (especially when cutting plywood)
You don’t need an expensive workshop. A circular saw and drill handle most of the work. Sawhorses, a workbench, or even a sturdy table can serve as your cutting and assembly station.
Step-By-Step Construction Guide
Measure and Plan
Decide on your bed size (twin, full, queen, or king). Measure your room and account for clearance to doors, windows, and walls. Sketch out the frame dimensions on paper: a queen bed needs roughly 60″ (width) × 80″ (length), but platform frames typically add 2–4 inches on each side for overhang and stability.
For storage drawers, plan the depth based on what you want to store. Six-inch-deep drawers work for linens: 12 inches accommodates bulkier items. Drawers cut into your usable height, so sketch how many drawers fit without the frame becoming too tall.
Build the Frame
- Cut your 2×4s to length. You’ll need perimeter pieces (two long sides and two short ends) plus cross-braces for support every 16–24 inches (depending on mattress weight and your wood grade).
- Assemble the perimeter using 2-inch wood screws or pocket holes, applying wood glue to joints for strength. Ensure corners are square using a carpenter’s square.
- Add interior braces (parallel to the long sides, spaced evenly) to prevent flexing and support drawer openings.
- Lay the ¾-inch plywood across the frame as your platform surface, securing it with 1¼-inch screws every 8–12 inches. Stagger seams so two plywood sheets don’t meet at the same point.
- Check for levelness before moving forward. Shim any low spots with shingles or thin plywood offcuts.
Install Drawer Openings
Cut rectangular openings in the plywood base and reinforce edges with 1×2 or 1×4 trim to keep drawers aligned. Install drawer slides (full-extension or soft-close models) inside each opening, following the manufacturer’s height and spacing instructions. Slides typically attach to the inside face of the opening supports with ¼-inch screws.
Designing Storage Drawers and Compartments
Drawers are the workhorse of your platform bed. Before building them, ensure your slides are rated for the weight you’ll load. A standard side-mount slide handles 50–75 pounds per drawer: heavier items require industrial-grade slides.
Build Drawer Boxes
Use ½-inch plywood for drawer sides, front, and back. Assemble with 1¼-inch wood screws, reinforcing corners with wood glue. Sand all interior surfaces smooth to prevent snagging fabrics. Attach drawer fronts, the visible 1×12 boards, with pocket holes or screws from inside the box, then fill screw holes with wood filler if using visible fasteners.
Each drawer sits directly on two slides. The slides handle weight distribution, so your plywood box just needs to be square and not flex excessively.
Drawer Depth and Configuration
If your platform is 24 inches deep, you can run full-depth drawers (20–22 inches front to back after accounting for slide depth). For shallower platforms, consider two tiers of 12-inch-deep drawers instead, which maximizes storage and remains accessible.
You can also create compartments by installing fixed dividers (plywood strips glued and screwed perpendicular to the frame). Dividers prevent one large drawer from becoming a black hole where winter coats go to die. Open cubbies paired with removable fabric bins offer another flexible option and cost less than drawer hardware.
For a king-size bed, designs with six 12-inch drawers or four 18-inch drawers are common. Experiment with what fits your space and lifestyle.
Finishing Touches and Customization Options
Surface Preparation
Once assembly is complete, sand all exposed wood with 80-grit, then 120-grit, and finally 220-grit paper. Pay attention to edges and any areas where two pieces meet. Use a tack cloth to remove dust before finishing. Proper prep means a smoother paint or stain finish that looks intentional, not rushed.
Paint or Stain
For a modern look, paint works well. Use a primer (especially if you mixed wood species or have stains), then two coats of quality interior paint. Eggshell or satin finishes hide imperfections better than flat paint and are easier to clean.
If you prefer stain, choose one suited to your wood. Pine takes stain unevenly: if using pine, consider a pre-stain conditioner or opt for paint. Finalize with polyurethane (matte, satin, or gloss) for durability.
Drawer Styling
Drawer fronts become part of your room’s design. You can paint them to match your walls, use a contrasting color, or apply wallpaper or contact paper for a custom look. Soft-close slides add a polished feel and prevent slamming at 2 a.m.
Headboard and Upholstery
Add a headboard by mounting a plywood panel or fabric upholstery behind the bed frame. This ties the bed into your décor and can hide the gap between the frame and wall. Padding and fabric transform a simple plywood panel into a focal point, consider resources like The Handyman’s Daughter for detailed upholstery tutorials.
Lighting and Functional Add-Ons
Consider under-bed lighting (LED strips run along the perimeter to illuminate the space above drawers), power strips mounted inside the frame for phone charging, or a reading light attached to the headboard.
Common Mistakes to Avoid
Skipping Surface Prep: Many builders rush sanding or don’t seal plywood edges before assembly. Rough surfaces snag on bedding, and unfinished plywood edges soak up stain unevenly. Spend an extra few hours on prep, it transforms the final look.
Undersizing Drawer Slides: Budget slides rated for 50 pounds fail under 75-pound loads. Check the manufacturer’s weight rating and don’t exceed it, especially on lower drawers that accumulate heavier items like bedding.
Poor Support Spacing: Plywood flexes if cross-braces are spaced too far apart. Keep them every 16–24 inches maximum, depending on wood thickness and load. Flex leads to squeaking and premature failure.
Ignoring Clearance: Don’t build a frame so tall that your mattress presses against a ceiling fan or blocks wall outlets. Account for mattress thickness (typically 10–14 inches) and headroom above.
Misaligning Drawer Openings: Measure twice, drill once. A drawer opening 2 inches off-center will bind or gap unevenly. Mark centerlines clearly and use a level to ensure straight cuts.
Using Warped Lumber: Before buying, visually inspect 2×4s and plywood for warping or cupping. Rejected materials from the rack often end up on the shelf: pick the straightest pieces.
Forgetting Ventilation: A solid platform can trap moisture under the mattress in humid climates. Use slats spaced 2–4 inches apart, or drill holes in the plywood surface to allow airflow. This prevents mold and extends mattress life.
Resources like Instructables host detailed walkthroughs from other builders: searching for “platform bed with drawers” uncovers common pitfalls specific to different approaches. Ana White’s plans for a storage bed with drawers provide step-by-step photos and material lists you can reference against your own design. Finally, Storage Solutions for Small Bedrooms covers complementary organizational strategies to pair with your new bed.
Conclusion
Building a platform bed with storage rewards you with a functional, custom piece of furniture tailored to your space and needs. The project typically spans 2–3 weekends: one for cutting and assembly, one for sanding and finishing, and a half-day for drawer hardware and final touches. The result is a bed frame that costs a fraction of retail while delivering exactly what your room needs. Start with accurate measurements, don’t skip prep work, and you’ll end up with something you’ll use, and appreciate, for years.