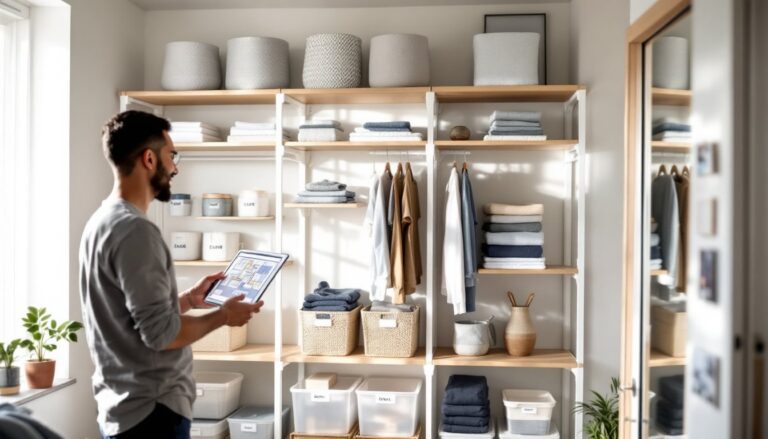
If you’re still holding onto physical DVDs, and plenty of people are, you know the storage challenge is real. Stacks of cases eat floor space, clutter shelves, and turn collections into eyesores rather than showcases. The good news: you don’t have to choose between keeping your movies and reclaiming your living room. Hidden DVD storage puts your collection on display without the visual weight, or tucks it away completely where it stays organized and accessible. Whether you’re working with a closet-sized apartment or have unused wall space in a basement, there’s a storage solution that fits your layout and budget.
Table of Contents
ToggleKey Takeaways
- Hidden DVD storage solutions let you keep your collection accessible and organized while reclaiming floor space and reducing visual clutter in your home.
- Wall-mounted floating shelves and corner alcove shelving are ideal for displaying DVD spines at eye level—mount them at approximately 60 inches from the floor and anchor into studs or heavy-duty toggle anchors rated for at least 50 pounds.
- Over-the-door and under-bed storage options work best for apartments and small spaces where wall anchoring isn’t feasible; ensure bed clearance is 18+ inches and use labeled bins with wheels for easy access.
- Furniture modifications like adding bifold doors or sliding panels to existing bookcases or entertainment centers provide custom concealment that blends with your decor while protecting DVDs from dust and temperature fluctuations.
- Most hidden DVD storage projects require only basic tools, a stud finder, and a weekend to complete, with material costs typically ranging from $50–$150 depending on your chosen solution.
Wall-Mounted Display Shelves for Stylish Organization
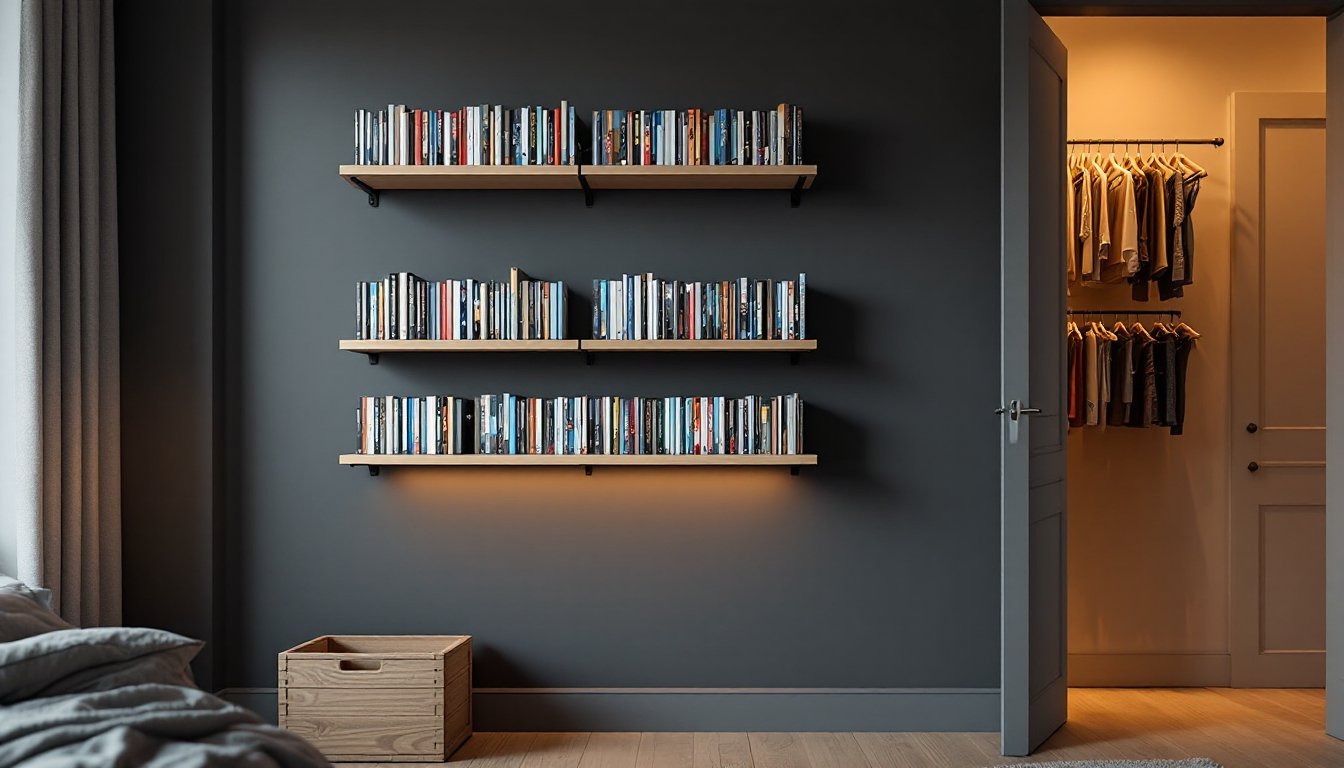
Wall-mounted shelves offer the middle ground between full concealment and leaving DVDs stacked on a coffee table. Floating shelves or simple bracket-and-board installations let you display spines vertically or horizontally while keeping them off the floor. The key is anchoring them properly into studs or using heavy-duty toggle anchors rated for the combined weight of DVDs (roughly 50 pounds per linear foot for standard cases).
When mounting shelves, locate studs with a stud finder and drive 3-inch wood screws into them directly, this handles the entire load without relying on drywall anchors alone. If studs don’t line up with where you want shelves, use expandable toggle anchors or mollybolt anchors rated for at least 50 pounds per anchor, spaced no more than 16 inches apart. Install shelves at a comfortable eye level, roughly 60 inches from the floor, so you can read spines without hunching.
For a polished look, IKEA Benno racks feature hidden storage modifications that allow a pivoting door mechanism, combining display with concealment in the same unit. Paint the wall behind the shelf in a complementary color, matte black, deep blue, or soft gray, to make spines pop and reduce the visual mass. This approach works well in living rooms, bedrooms, or home theater spaces where the collection itself becomes part of the decor.
Behind-the-Door Solutions for Small Spaces
The back of a closet door, bedroom door, or hallway door represents prime unused real estate. Over-the-door organizers with clear pockets work, but they’re limited to single rows: instead, consider installing a slimline wall-mounted rack or tension rod system on the door itself using lightweight angle brackets.
Measure the door height and width, then install two horizontal rods using L-brackets about 10 inches apart, spaced 6 to 8 inches from top and bottom edges. Secure the brackets to the door with 2-inch wood screws into the solid core of the door (not the hollow sections). This method holds roughly 30–40 DVDs per door without warping it. The door weight stays balanced because you’re distributing the load across multiple attachment points.
Door-mounted storage works best for secondary collections or current favorites you rotate frequently. It keeps DVDs hidden when the door closes and accessible without opening a cabinet. In apartments where wall anchoring isn’t feasible, this is often the fastest no-damage option.
Under-Bed Storage Systems
Under-bed space is often overlooked, especially in master bedrooms or guest rooms. Shallow plastic storage bins (4–6 inches tall) or wooden storage boxes designed for bed clearance slide easily and protect DVDs from dust. The trick is ensuring your bed sits high enough, typically 18+ inches clearance for most furniture-style storage bins.
Before sliding bins under, measure your available height and the bins’ dimensions. Use bins with wheels and handles for easier access, especially if you’re storing 50+ DVDs. Label bins clearly on the spine or front (using a label maker or masking tape) so you know which collections are where without pulling them out. The under-bed approach isolates DVDs from temperature swings and humidity, which extends the life of cases and discs, making it ideal for long-term storage of back catalogs or collections you rarely watch.
Stack bins lengthwise along the bed’s longest side, leaving a few inches clearance on each end for airflow. This prevents mold or warping that can occur in sealed spaces with poor ventilation.
Floating Shelves in Unexpected Locations
Beyond the obvious living room wall, floating shelves in hallways, staircases, or even bathroom niches create storage that blends into the home’s architecture rather than shouting ‘DVD collection.’
Corner Spaces and Alcoves
Corner shelves and alcove shelving are perfect for DVDs because they use dead space that’s hard to furnish otherwise. Install an L-shaped shelf bracket system into corner studs for rock-solid support. Measure the alcove depth and width, then order shelves cut to fit (or cut 3/4-inch plywood to size and finish it with primer and paint). Corner shelves naturally frame a collection without eating floor space, and the contained environment keeps DVDs organized without sprawling visually.
Alcove shelving works particularly well in bedrooms and office spaces where DVDs blend with books, collectibles, or decor. Use consistent spacing, typically 12 inches between shelves, and leave 2 inches of clearance at the top for easy removal. Small space living solutions from apartment design experts often highlight how vertical storage in corners maximizes square footage without cluttering open areas.
For a finished look, paint shelves and backboard the same color as the wall, or use a contrasting finish (stained wood against white drywall, for example) to emphasize the neatness of the installation.
Furniture Modifications for Concealed Storage
If you have an old bookshelf, console table, or cabinet, you can modify it to hide DVDs behind doors or sliding panels. Bifold cabinet doors or pocket doors (which slide into a frame) let you customize existing furniture rather than buying new.
For a bookshelf conversion, measure the opening and add a simple frame around it using 1×2 pine boards and wood glue plus 1.25-inch brad nails or screws. Hang a door or two from heavy-duty hinges rated for the door weight (typically 2–3 pounds per hinge for standard doors). Use magnetic catches or soft-close hinges to keep doors closed without slamming. Paint or stain the frame to match your existing furniture.
Alternatively, build a false back panel using 1/4-inch plywood and horizontal slats spaced to look like decorative lattice or shelving. Mount it to hide DVDs while keeping the unit’s visual appeal intact. This approach works especially well on entertainment center shelves where DVDs were always meant to go but looked cluttered on open display.
For custom builds, detailed step-by-step DIY instructions provide guidance on sizing doors, installing hinges, and finishing woodwork. The project typically takes a weekend and costs $50–$150 in materials, depending on whether you use new lumber or repurpose what you have.
Conclusion
Hidden DVD storage doesn’t mean your collection disappears from view, it means choosing where and how it lives. Whether you display it on floating shelves, tuck it under the bed, or build custom concealment into existing furniture, the goal is keeping your movies accessible and your space functional. Start with a realistic inventory of what you’re storing, measure your available space, and choose the solution that matches your room’s layout and your willingness to DIY. Most projects need only basic tools, a stud finder, and an afternoon. Your collection stays organized, your home stays uncluttered, and you can still grab your favorite film whenever the mood strikes.